Using Redux Toolkit for React Applications
In one of my previous posts, I mentioned about how can one use the Redux toolkit to reduce some of the boilerplate code generated by a default or standard Redux implementation.
For those of you who don’t like things complicated, the Redux toolkit makes a bit simpler. Let’s try to understand the same using our previous example itself.
Create new app with Redux toolkit
npx create-react-app using-redux-toolkit-react --template redux
Installing the redux toolkit dependency
# using Yarn package manager
yarn add @reduxjs/toolkit
Configuring a slice
The good part of the Redux toolkit is that it allows to define your actions and reducers at one single place. Hence, it’s easier to understand.
From the documentation the createSlice is a function that accepts an initial state, an object of reducer functions, and a “slice name”, and automatically generates action creators and action types that correspond to the reducers and state.
cartSlice.js
import { createSlice } from '@reduxjs/toolkit';

const initialState = [
  {
    name: 'groceries'
  }
];

export const cartSlice = createSlice({
  name: 'cart',
  initialState,
  // The `reducers` field lets us define reducers and generate associated actions
  reducers: {
    addItem: (state, action) => {
      // Redux Toolkit allows us to write "mutating" logic in reducers. It
      // doesn't actually mutate the state because it uses the Immer library,
      // which detects changes to a "draft state" and produces a brand new
      // immutable state based off those changes
      return [...state, {
          name: action.payload
        }
      ]
    },
  }
});

export const { addItem } = cartSlice.actions;

export default cartSlice.reducer;
Redux store
Not much changes required to be done to configure the store. We just need to import the configureStore function that basically provides an abstraction over the standard Redux createStore function for a better development experience. We will need to pass our cartReducer in the reducer block.
store.js
import { configureStore } from '@reduxjs/toolkit';
import cartReducer from '../features/cart/cartSlice';

export const store = configureStore({
  reducer: {
    cart: cartReducer,
  },
});
Application code
Cart.js
import React, { useState } from 'react';
import { useSelector, useDispatch } from 'react-redux';
import { addItem } from './cartSlice';
import './Cart.css';

export function Cart() {

  const [item, setItem] = useState('');

  // sorting the cart items alphabetically
  const items = [...useSelector(state => state.cart)].sort((a, b) => {
    return a.name.toLowerCase() > b.name.toLowerCase() ? 1 : -1;
  });

  const dispatch = useDispatch();

  const handleSubmit = event => {
    event.preventDefault();
    dispatch(addItem(item))
    setItem('');
  };

  return (
    <div className="wrapper">
      <h1>Item List</h1>
      <form onSubmit={handleSubmit}>
        <label>
          <p>
            Add Item
          </p>
          <input
            type="text"
            onChange={e => setItem(e.target.value)}
            value={item}
          />
        </label>
        <div>
          <button type="submit">Add</button>
        </div>
      </form>
      <ul>
        {items.map(item => (
          <li key={item.name}>
            <h3>{item.name}</h3>
          </li>
        ))}
      </ul>
    </div>
  );
}
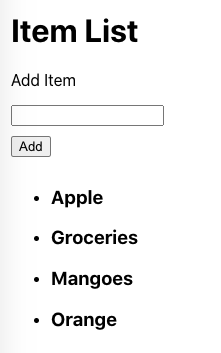
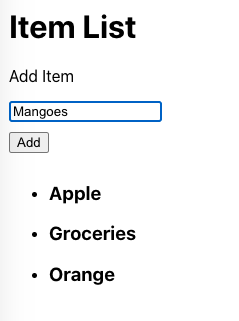
Output screenshots
Hope this post was helpful. Stay tuned for more 😄