Getting Started With Kivy
Kivy is a popular cross platform open source library for developing applications involving different user interfaces. Currently, Kivy runs on Linux, Windows, Mac OSX, Android and iOS.
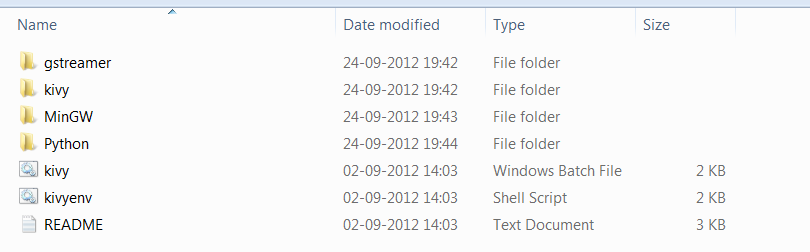
Let’s start by downloading Kivy for Windows from here : Kivy for Windows. Unzip the downloaded file to find the kivy.bat file shown below:
Copy the path to this folder. Now right click My Computer -> Properties -> Advanced System Settings -> Environment Variables Select Path under System variables and click on Edit. Add the path you copied at the end of the Variable Value entry followed by a semicolon(;)
Open up a command prompt and type kivy to see whether kivy has be set up properly. You should see a message saying “done bootstrapping kivy..”.
That completes the Kivy installation for Windows. Now moving on, let’s try a simple program.
Open any editor such as Notepad++ or best you can use the Python IDLE that comes along with a standard Python installation.
Write the following code:
import kivy
kivy.require('1.4.0')

from kivy.app import App
from kivy.uix.image import Image
from kivy.uix.widget import Widget

class ShowImage(Image):
      pass

class MyApp(App):
	  def build(self):
		    return ShowImage(source='tech2.jpg',pos=(30, 130),size=(256, 256))

if __name__ == '__main__':
	MyApp().run()
Save the above file as imagedemo.py. The above code is used to display an Image using Kivy. ‘tech2.jpg’ is the name of the image file. Note that the image file and the imagedemo.py file should be placed inside the same folder.
Now switch to command prompt once again, navigate to the folder contain the python file and type the command –> kivy imagedemo.py
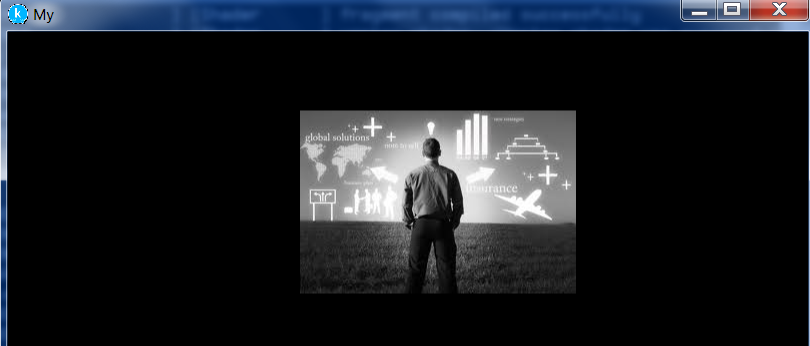
You should see a screen with an image as below: