Processing for Android
Hello everyone!
The Processing language has now become a popular development tool for Android applications. It's latest version 2.0+ allows developers to create an Android application from scratch using the newly added Android mode.
Processing supports many libraries including video, network, PDF export etc. Just as Android, Processing is also open source and can be downloaded for free. Through this post, I will demonstrate how to create an Android application using Processing!
Pre-requisites: Windows 7 OS (64 bit), Processing (version 2.0 or greater), Java latest version, Android SDK
Note: You need to download and install the latest version of Java and Android SDK on your machine before proceeding.
Step 1: Installing Android mode
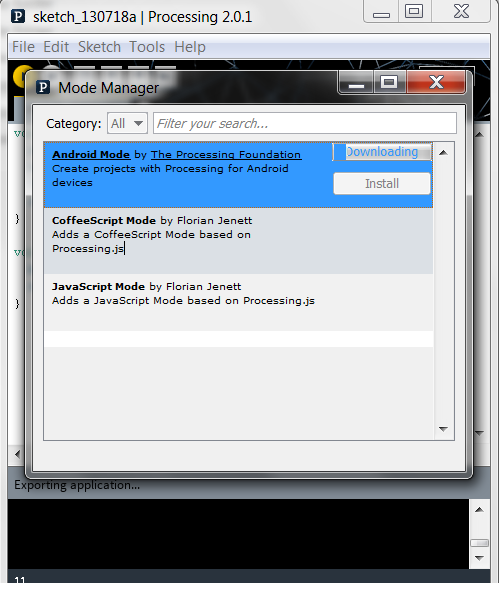
Launch the Processing application. At the right hand side, you should see the default Java mode selected in the drop down. Select Add mode option from the drop down and install the Android mode. Now, restart the Processing application and switch to Android mode.

Step 2: Create new Sketch
Create a new Sketch named Sketch1 and add the following code!
float x;

void setup()
{
  size(480,800);
  noStroke();
  ellipseMode(CENTER);
}

void draw()
{
  background(255,204,0);
  x= x+ 0.7;

  translate(x,50);
  fill(255);
  ellipse(width/2, height/2, 150, 150);

  translate(x,80);
  fill(255);
  ellipse(80,80,150,150);
}
Save the Sketch. Connect your Android device using a USB cable to your machine. Make sure you have the USB debugging turned on. You can do this from the Settings-->Applications-->Development menu on your device.
Finally, run the Sketch on the device by clicking the Run on device button in the tool bar. You should see the following screen on your Android device!

Source: Processing Android Tutorial
